Homemade Weather Station [PT 1]
This time i’ve decided to build an homemade weather station.

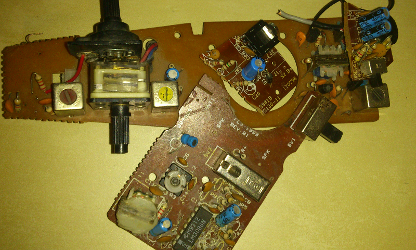
I’ve ordered a month ago a few Dallas DS18B20 one wire digital thermometer and a welded DHT11 (Hygrometer + Thermometer) from an eshop. When i started this project i forgot to buy some matrix boards so i took some really old broken boards (they were mostly old FM radio) and i have unwelded the components. After some PCB modifications i used the old board to weld the DS18B20 with a 4.7K resistor and 3 old cables got from an old (and broken) PC.

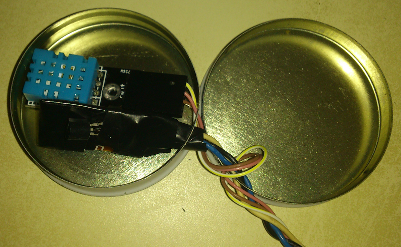
I took an old Liquorice metal box and i’ve isolated the components with the wire tape.

While i was searching for boards, i found an old mini engine for a model railway locomotive and welded it with 2 cables. My future plan for this engine is to use it as an Anemometer.

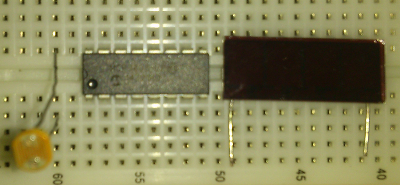
What’s next? Well i found also a solar panel from a broken Chinese calculator (those given as gadgets in the fairs) and i’ve decided to use it to get the light intensity, but since i have also a photoresistor, i’ll probably use both to check the light. The Anemometer (aka the engine) ,the solar panel and the photoresistor will be attached to a MCP3008 (an 8 channel ADC that i got for free).

(In the photo you will see: a photoresistor, the MCP3008 and the 3.3V Solar panel)
Now i’m waiting for some components like my Arduino nano v3.0 and some other parts like the raindrops sensor.
For now i’ve spent less then 2 EUR (less then 1 EUR for the DHT11, 1 EUR for 2 DS18B20).
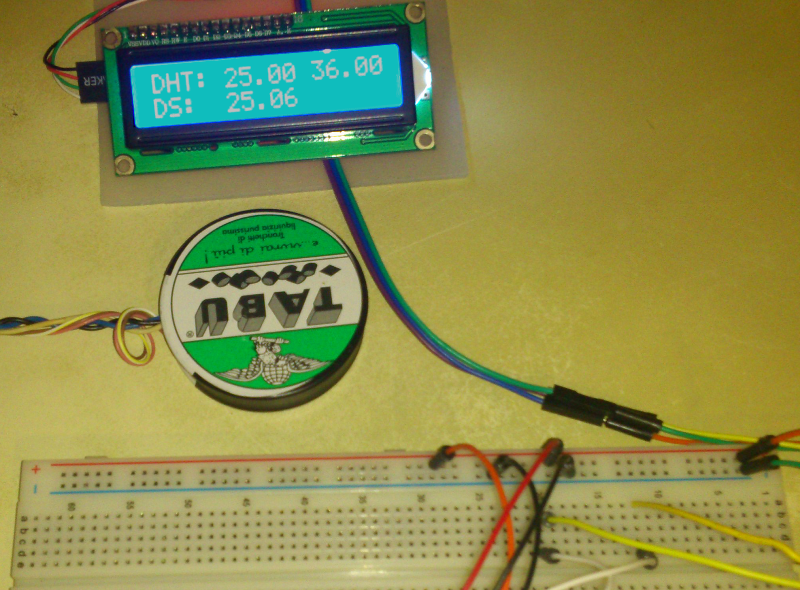
To test the components (for now) i’ve used my Raspberry Pi and my HD44780.